How to Replace Keycaps on a Keyboard

One of the best parts of owning a mechanical keyboard is customizing it to match your style. Swapping out the keycaps is an easy way to give your keyboard a fresh new look and feel. In this blog post, we'll walk through the process of removing and replacing keycaps, and how to choose the right set for your keyboard size.
Why Replace Keycaps?
Replacing your stock keycaps offers a few advantages:
- Custom colors and styles - Choose eye-catching colors, patterns, materials, profiles etc. to make it your own
- Improved quality - Aftermarket keycap sets are often higher quality plastic and printing, rather than cheap keycaps found on many stock keyboards
- Change keyboard size/layout - Modify certain keys to better fit your workflow, like adding macro keys
Choosing Keycaps for Your Keyboard Size
When buying aftermarket keycaps to customize your mechanical keyboard, it's important to understand keycap sizing measurements. In the keyboard community, keycaps are measured using a standard unit system rather than typical real-world dimensions. This allows mixing and matching of keycaps from different sets.
The Keycap Unit System
The keycap unit (u) is a standardized measurement used to designate keycap sizes. The most common size is 1u, which applies to regular letter and number keys, modifiers like ESC, and other standard keys. The size is about 18mm (1.8 cm)
Below are some common mechanical keyboard keycap sizes.
Note: These are just general guidelines, and we recommend measuring the keycaps on your existing board to ensure a perfect fit.
For all keyboards, the smallest keys, including the letter and function keys, are 1u.
Some examples of larger key sizes:
- Caps Lock: Typically 1.75u
- Left Shift: Often 2.25u
- Right Shift: Usually 2.75u
- Backspace: Often 2u
- Spacebar: Most common sizes are 6.25u, 7u
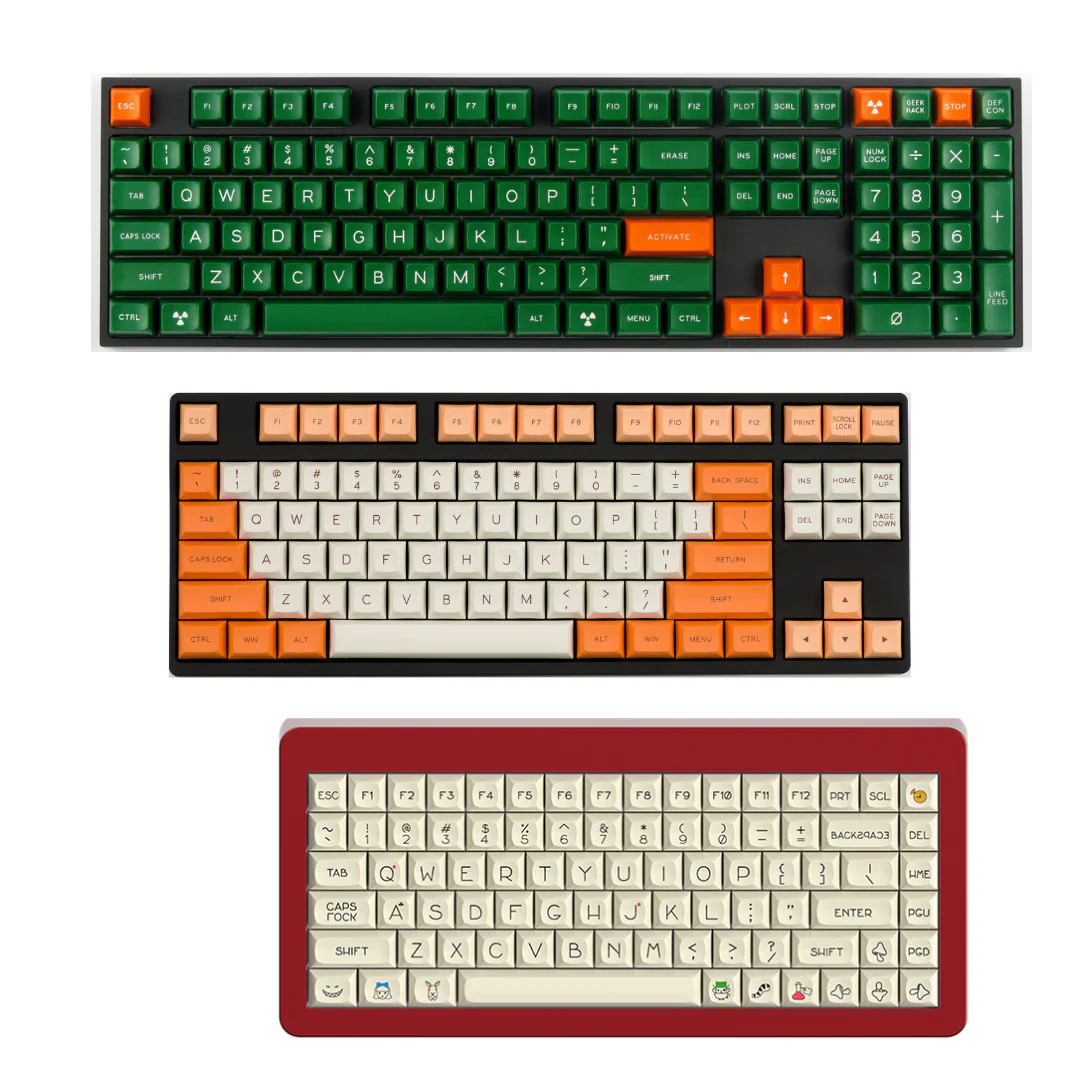
Here are a few specifics that may apply to your keyboard:
- Full-size (104 keys) and TKL (80%)
- Bottom row keycaps are 1.25u
- Shift and Enter keys are 2.25u and 2.75u
- Spacebar is 6.25u
- 65%
- Some of the bottom row keycaps may be 1u (like the right-side ALT, FN, CTRL, and the arrow keys)
- The Shift key on the right-hand side is 1.75u
Key Profile vs. Size
Keep in mind that the unit only refers to the keycap's footprint on the keyboard. It does not account for the overall shape and height, known as the key profile. Profiles like OEM, Cherry, SA, and DSA affect the look and feel. But you can mix and match profiles once you've found caps that fit the layout.
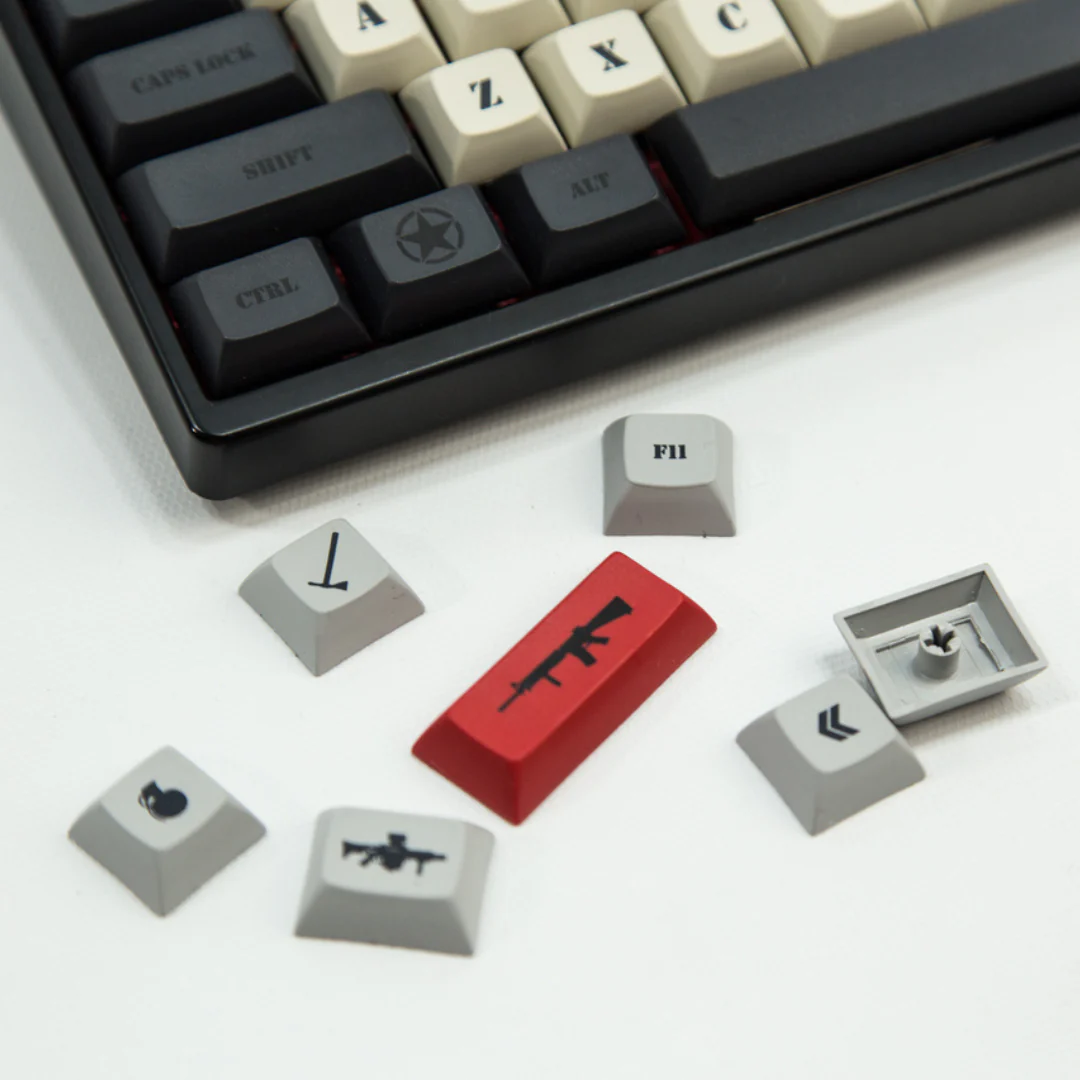
How to Remove and Replace Keycaps
Replacing keycaps is a straightforward process on mechanical keyboards. You'll need a keycap puller tool - many kits include one, or you can purchase separately.
To remove each keycap, place the puller prongs on two opposite corners and gently pry up until it detaches from the switch stem underneath.
For larger keycaps like spacebars with stabilizer bars, you'll need to detach the stabilizers before removing the keycap. To do this, simply use the puller prong on one side to detach the keycap, and then repeat on the other side.
To replace your keycaps, simply push down on the keycap until it snaps securely over the switch and stabilizers, making sure it sits level. Add all your glorious new keycaps row by row.
Customizing your keyboard with new keycaps is extremely rewarding. Not only can you tailor the aesthetics, but you may also improve the typing feel and ergonomics. Take your time, do your research, and elevate your mech to the next level!